 EN
EN


The Transparency Trap
Clear thermal lamination sounds straightforward. Run the film through a heated roller, apply pressure, and the printed piece emerges protected and glossy. In practice, the gap between a successful lamination and a rejected batch often comes down to variables that are easy to overlook until they cause real trouble.
A commercial printer in the Pacific Northwest learned this the hard way. They had been running the same clear BOPP film on the same laminator for two years without issues. Then a new batch of coated cover stock arrived from a different mill. Suddenly, the film was hazing over in the center of the sheet, and the adhesion was patchy. The film hadn't changed. The machine settings hadn't changed. But the substrate had—and the combination was a disaster.
Clear thermal lamination demands attention to the entire system: film formulation, substrate characteristics, machine parameters, and environmental conditions. Getting it right consistently requires understanding how these elements interact.
Understanding the Clear Film Construction
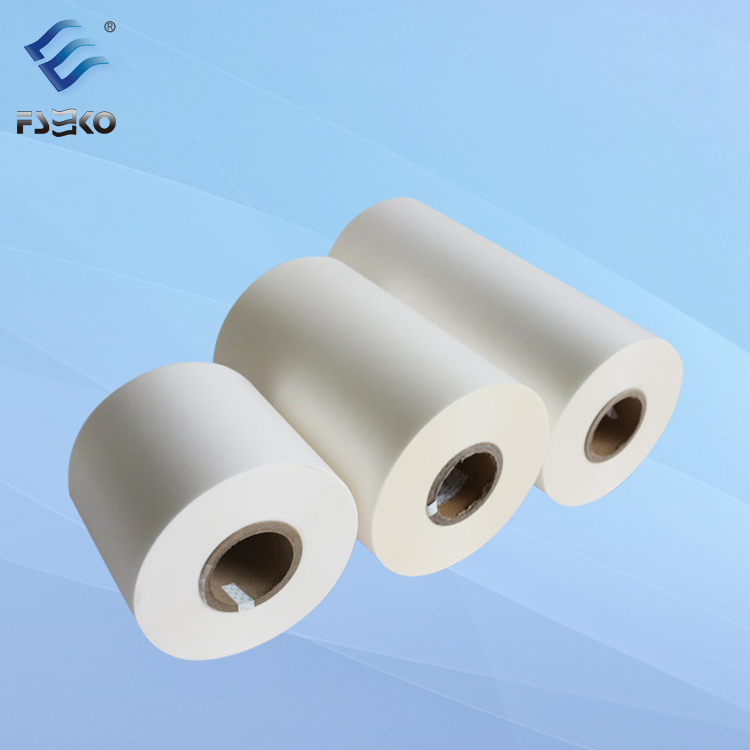
A clear thermal lamination film is not a single layer of plastic. It is a composite structure typically consisting of a base film, an adhesive coating, and sometimes functional topcoats that modify surface properties. The base layer—most commonly BOPP—provides mechanical strength and optical clarity. The adhesive layer, usually EVA-based, activates when heated to bond the film to the printed substrate.
The clarity of the finished laminate depends on the optical quality of the base film and the uniformity of the adhesive layer. Any inconsistency in coating thickness shows up as visible defects—streaks, bubbles, or a general loss of transparency. High-quality clear films maintain consistent adhesive coverage across the full width of the roll, which is why manufacturers with strict quality control processes produce more reliable results.
One often-overlooked factor is the film's haze value, measured as the percentage of light scattered when passing through the material. Premium clear films keep haze below 2%, meaning the viewer perceives virtually no loss of image sharpness. Films with haze values above 5% produce a noticeable milkiness that degrades the printed image's impact.
Temperature: The Critical Control Point
Heat activates the adhesive, but too much heat causes problems just as surely as too little. Most BOPP-based clear films operate optimally between 130°C and 140°C. Below this range, the adhesive does not fully melt and flow, resulting in poor wet-out and weak bond strength. Above 140°C, the base film can begin to shrink or distort, and the adhesive may degrade, leading to discoloration or adhesive bleed beyond the sheet edges.
The laminator's temperature profile matters as much as the setpoint. Roller surfaces can develop hot spots from uneven heating elements or worn bearings. A shop in Texas running high-volume packaging work discovered that their laminator's upper roller was running 8°C hotter on the operator side than the gear side. The film looked fine on one edge and hazy on the other. Recalibrating the roller temperature sensors solved the problem, but it took two full production shifts to identify the root cause.
For PET films, the temperature tolerance extends higher—up to 150°C—but the same principle applies: consistency matters more than absolute temperature. The adhesive must reach its activation temperature across the entire nip width simultaneously.
Speed and Pressure: The Other Half of the Equation
Temperature alone does not complete the lamination. The film must spend sufficient time in the heated nip to allow the adhesive to flow and wet out the substrate surface. Running the laminator too fast reduces the dwell time, resulting in incomplete adhesion that may not be immediately visible.
Conversely, running too slowly can overheat the film, causing shrinkage or adhesive degradation. The optimal speed depends on the laminator design, the film thickness, and the substrate's thermal conductivity. Heavier substrates draw heat away from the nip more quickly, requiring either slower speeds or higher temperatures to compensate.
Nip pressure also plays a critical role. Insufficient pressure leaves microscopic air gaps between the film and the substrate, which appear as a cloudy or milky haze. Excessive pressure can squeeze out the adhesive layer unevenly or distort the substrate. The right pressure setting ensures the adhesive is pressed into the substrate's surface texture, forming a continuous bond without voids.
A useful practice is to run test strips at the start of each job, adjusting temperature, speed, and pressure in small increments while documenting the results. This creates a reference library for future runs on similar substrates.
Substrate Surprises
The printed substrate is the variable that causes the most unexpected failures. Coated papers, uncoated stocks, synthetic materials, and recycled boards all behave differently under heat and pressure.
Coated papers present a particular challenge because the coating layer can act as a barrier between the adhesive and the paper fibers. If the coating is not sufficiently porous, the adhesive bonds only to the coating surface rather than penetrating into the sheet. This creates a bond that looks solid initially but can fail under humidity changes or handling stress.
A book manufacturer in the UK switched to a new coated paper for their premium hardcover line. The clear lamination looked perfect coming off the press. Three weeks later, the covers began to show a white bloom—the adhesive was crystallizing at the interface. The paper coating's chemistry had changed, and the adhesive no longer formed a stable bond. The solution required reformulating the film's adhesive layer specifically for that paper grade.
Ink coverage is another critical factor. Heavy ink deposits, particularly in solid areas, create a low-energy surface that resists adhesive wet-out. Digital prints with thick toner layers are especially problematic. Super-sticky adhesive formulations address this by using modified chemistries that penetrate through the ink layer. For extremely heavy coverage, reducing the laminator speed to increase dwell time can help the adhesive flow more completely.
Environmental Factors and Storage
Temperature and humidity in the production environment affect both the film and the substrate. High humidity introduces moisture into paper stocks, which turns to steam during lamination and causes bubbles or blisters. Low humidity makes paper brittle and prone to cracking at the edges.
The film itself absorbs moisture over time if not stored properly. Clear films should remain in their original packaging until use and stored in climate-controlled conditions away from direct heat sources. Rolls left partially exposed on the laminator for extended periods can develop surface contamination or moisture absorption that affects adhesion.
Getting Clear Results Every Time
Success with clear thermal lamination comes down to systematic process control. Start by verifying that the film grade matches the application—digital prints need digital-grade adhesives, inkjet outputs need inkjet-specific formulations. Verify the laminator's temperature calibration before each run. Run test strips and inspect them under good lighting, looking for haze, bubbles, or edge lifting.
When problems occur, change one variable at a time. Temperature, speed, pressure, and substrate are the primary levers. Document everything so patterns become visible over time.
Manufacturers with deep technical expertise in clear film production, such as EKO Film, offer more than just product—they provide application knowledge that helps printers avoid these pitfalls. Their clear thermal lamination films span BOPP and PET base materials, with thickness options from 17 to 27 microns and super-sticky digital grades available for demanding digital print applications. Consistent quality control across production runs reduces the variables that cause unexpected failures, allowing print operations to focus on what they do best.